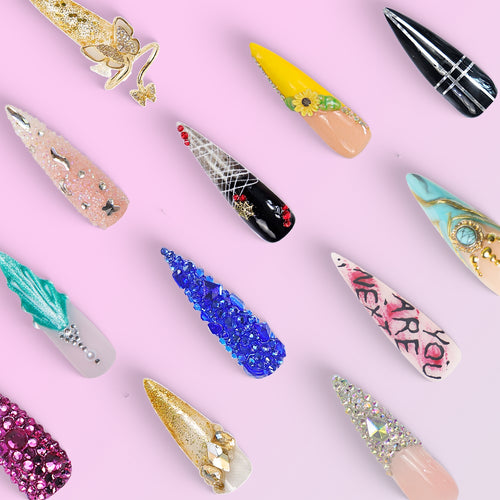
Are you looking to enhance your nail game without the hassle of a salon visit? This guide will provide you with detailed instructions on how to apply acrylic press-on nails at home. With the right tools and techniques, you can achieve a professional look in the comfort of your own space.

Understanding Acrylic Press-On Nails
Acrylic press-on nails are a popular choice for those seeking a quick and stylish manicure. They come in various shapes, sizes, and designs, allowing for personalization. But how do you ensure they adhere properly and look fabulous? Let’s explore the steps involved in applying them effectively.
Gather Your Supplies
Before diving into the application process, it is essential to gather all necessary supplies. Here’s a list of what you will need:
- Acrylic press-on nails
- Nail file
- Nail buffer
- Cuticle pusher
- Nail glue
- Alcohol wipes or nail polish remover
- Optional: Nail art supplies for customization
Preparing Your Natural Nails
Preparation is key when learning how to apply acrylic press-on nails at home. Start by cleaning your natural nails thoroughly. Use alcohol wipes or nail polish remover to eliminate any oils or residues. Next, gently push back your cuticles with a cuticle pusher. This step not only promotes a clean application but also helps the press-on nails adhere better.
Once your nails are clean, file and buff the surface lightly. This process creates a rough texture that enhances the grip of the nail glue. Remember, a well-prepared nail bed is crucial for a long-lasting manicure.
Applying the Acrylic Press-On Nails
Now that your natural nails are ready, it’s time to apply the acrylic press-on nails. Follow these steps:
- Select the right size of press-on nails for each finger.
- Apply a small amount of nail glue to the back of the press-on nail.
- Press the nail firmly onto your natural nail, holding it in place for about 10-15 seconds.
- Repeat the process for all fingers, ensuring each nail is securely attached.
Finishing Touches and Maintenance
After applying the nails, you may want to add some finishing touches. If desired, you can file the edges for a more customized shape or apply nail art for added flair. To maintain your acrylic press-on nails, avoid excessive exposure to water and harsh chemicals. Regularly check for any lifting and reapply glue as needed.
For more unique designs and nail art supplies, consider visiting  . They offer a variety of products that can enhance your nail application experience.
Conclusion
In conclusion, learning how to apply acrylic press-on nails at home can be a rewarding experience. With the right preparation and technique, you can achieve stunning results that rival salon-quality nails. Remember to take your time, enjoy the process, and express your creativity!


