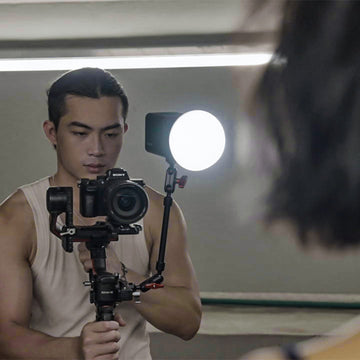
Unlock the Secrets of Stunning Photography: Master the Art of Lighting!
Lighting is one of the most critical elements in photography, capable of transforming a mundane image into a captivating masterpiece. Whether you’re capturing the warm glow of a sunset or the vibrant colors of a bustling street market, the way you manipulate light can significantly impact the mood and depth of your photographs. In this article, we will delve into various photography lighting techniques and provide practical tips to enhance your skills behind the camera. By mastering lighting, you can elevate your photography and capture stunning images that truly resonate with viewers.

Understanding Photography Lighting
Photography lighting refers to the use of natural or artificial light to illuminate a subject, creating the desired mood and enhancing the composition of the image. The significance of lighting cannot be overstated; it sets the tone and can evoke emotions in viewers. Natural lighting, such as sunlight, brings warmth and authenticity to photos, while artificial lighting allows for greater control and creativity in various settings. Understanding the nuances of both types of lighting is essential for any photographer aiming to capture striking images.
Types of Photography Lighting Techniques
There are several lighting techniques you can employ to improve your photography. Let’s explore some of the most commonly used methods:
Natural Light
Natural light is often the preferred choice for many photographers due to its dynamic qualities. The golden hour, which occurs shortly after sunrise and before sunset, offers soft, diffused light that can enhance colors and textures. However, working with shadows is equally important; understanding how light interacts with your subject can lead to more compelling compositions. I remember a friend who captured a stunning portrait of her daughter during the golden hour, utilizing the soft light to create a dreamy effect. The shadows added depth and character, making it one of her favorite photographs.
Studio Lighting
Studio lighting provides photographers with the ability to create controlled environments, allowing for consistency in their images. Softboxes and umbrellas are popular tools that diffuse light, softening harsh shadows and creating a more flattering look for portraits. Strobe lights can also be used to freeze motion or create dramatic effects. When I took a photography class, we experimented with these tools, and I found that proper placement and adjustment of studio lights could dramatically change the outcome of a single shot.
Flash Photography
Flash photography is an essential technique for capturing images in low-light conditions or for adding a pop of light to a scene. It’s crucial to balance ambient light with the flash to avoid washed-out images. A friend of mine shared a valuable lesson he learned: instead of relying solely on the flash, he began underexposing the ambient light and using the flash to illuminate the subject, resulting in beautifully lit photographs with rich backgrounds.
Tips for Mastering Lighting in Photography
Here are some practical tips to help you enhance your lighting skills:
Experimenting with Angles
Don’t be afraid to move around your subject and try different angles. The position of the light source in relation to your subject can drastically alter the appearance of your photo. For instance, shooting from below can create a dramatic effect, while shooting from above can provide a unique perspective. I often find that the most unexpected angles yield stunning results.
Using Reflectors and Diffusers
Reflectors and diffusers are invaluable tools for manipulating natural light. Reflectors bounce light back onto your subject, filling in shadows and creating a more even exposure. Diffusers, on the other hand, soften harsh sunlight, reducing glare and creating a more pleasing aesthetic. I remember using a simple white sheet as a reflector during a shoot, and it made a world of difference in illuminating my subject’s face.
Adjusting Camera Settings
Your camera settings play a vital role in how light is captured. Understanding the relationship between aperture, shutter speed, and ISO can help you adapt to various lighting conditions. A wider aperture allows more light in, creating a shallow depth of field, while a faster shutter speed can freeze motion in bright environments. It’s essential to experiment with these settings to find the perfect balance. I’ve learned that taking the time to adjust my settings according to the lighting can transform an average photo into something extraordinary.
Enhancing Your Photography Through Effective Lighting
Mastering lighting is fundamental to achieving stunning photography. By understanding the different types of lighting techniques and implementing the tips shared in this article, you can significantly enhance your photography skills. Remember to practice, experiment, and, most importantly, have fun with your lighting techniques. As you become more comfortable with manipulating light, you’ll unlock new creative possibilities and take your photography to the next level.


